Friday, August 31, 2012

Dyed Paper Revisited

There's another way to marble paper, which I learned on youtube.com. My art buddy, Namrata, and I tried it a long time ago and had fun with its results.

Then, just this week, I decided to try it again but get better results. It really worked out well. My four marbled papers are below. Then, below that, I'll explain how to do it.


Dying/Marbling Paper Using Shaving Cream

Put down your craft mat or a place mat.
Have an extra mat handy on your surface.
Spray regular shaving cream on the mat in the shape of your paper.
Spread the shaving cream out evenly.
Drop your alcohol ink colors in different spots on the shaving cream.
Take a plastic fork or other similar tool and create your design in the shaving cream.
Lay your paper over the shaving cream and carefully smooth out to absorb the colors.
Then place your paper on the other mat and scrape off the shaving cream with an old credit card.
As you scrape off the shaving cream, drop it back on the first mat for re-use.
Smooth the shaving cream out and dye another paper the same way.

Monday, August 27, 2012

Art Experiment in Progress

Although, isn't most art an experiment?

We start something with no idea of how it will turn out. Sometimes we're pleasantly surprised and other times not so sure if we like the finished piece.

Anyway, yesterday I started a piece and it looks like this:
I did it using a large brush from Dollar Tree and rinsing it out between colors. Then I raked a plastic fork through it and added some fingerprint impressions with the colors that go mushed together. Also, the gesso wasn't dry when I started painting. I just wanted to see how it would work and I like the results.

 And, instead of wasting the paint left on the brush, I used it in my big art journal as follows:
It's fun just slopping around willy-nilly with leftover paint on brushes.

I have no idea what my final piece will look like, but I'll send it in stages to show its metamorphosis.

Enjoy your art experiments!

Til next time ...

Friday, August 24, 2012

Back again ... with photos of more art!

Sorry I missed blogging yesterday. It was very busy for me, with taking the train into Philadelphia, having the interview and then coming home on the train. I was bushed!

I'm going to try to post some interesting photos of art that I created, and maybe some other photos. I'll be working on some pieces this weekend, which should make my blog more interesting the next time.
Our colorful patio with painted foot rests

 
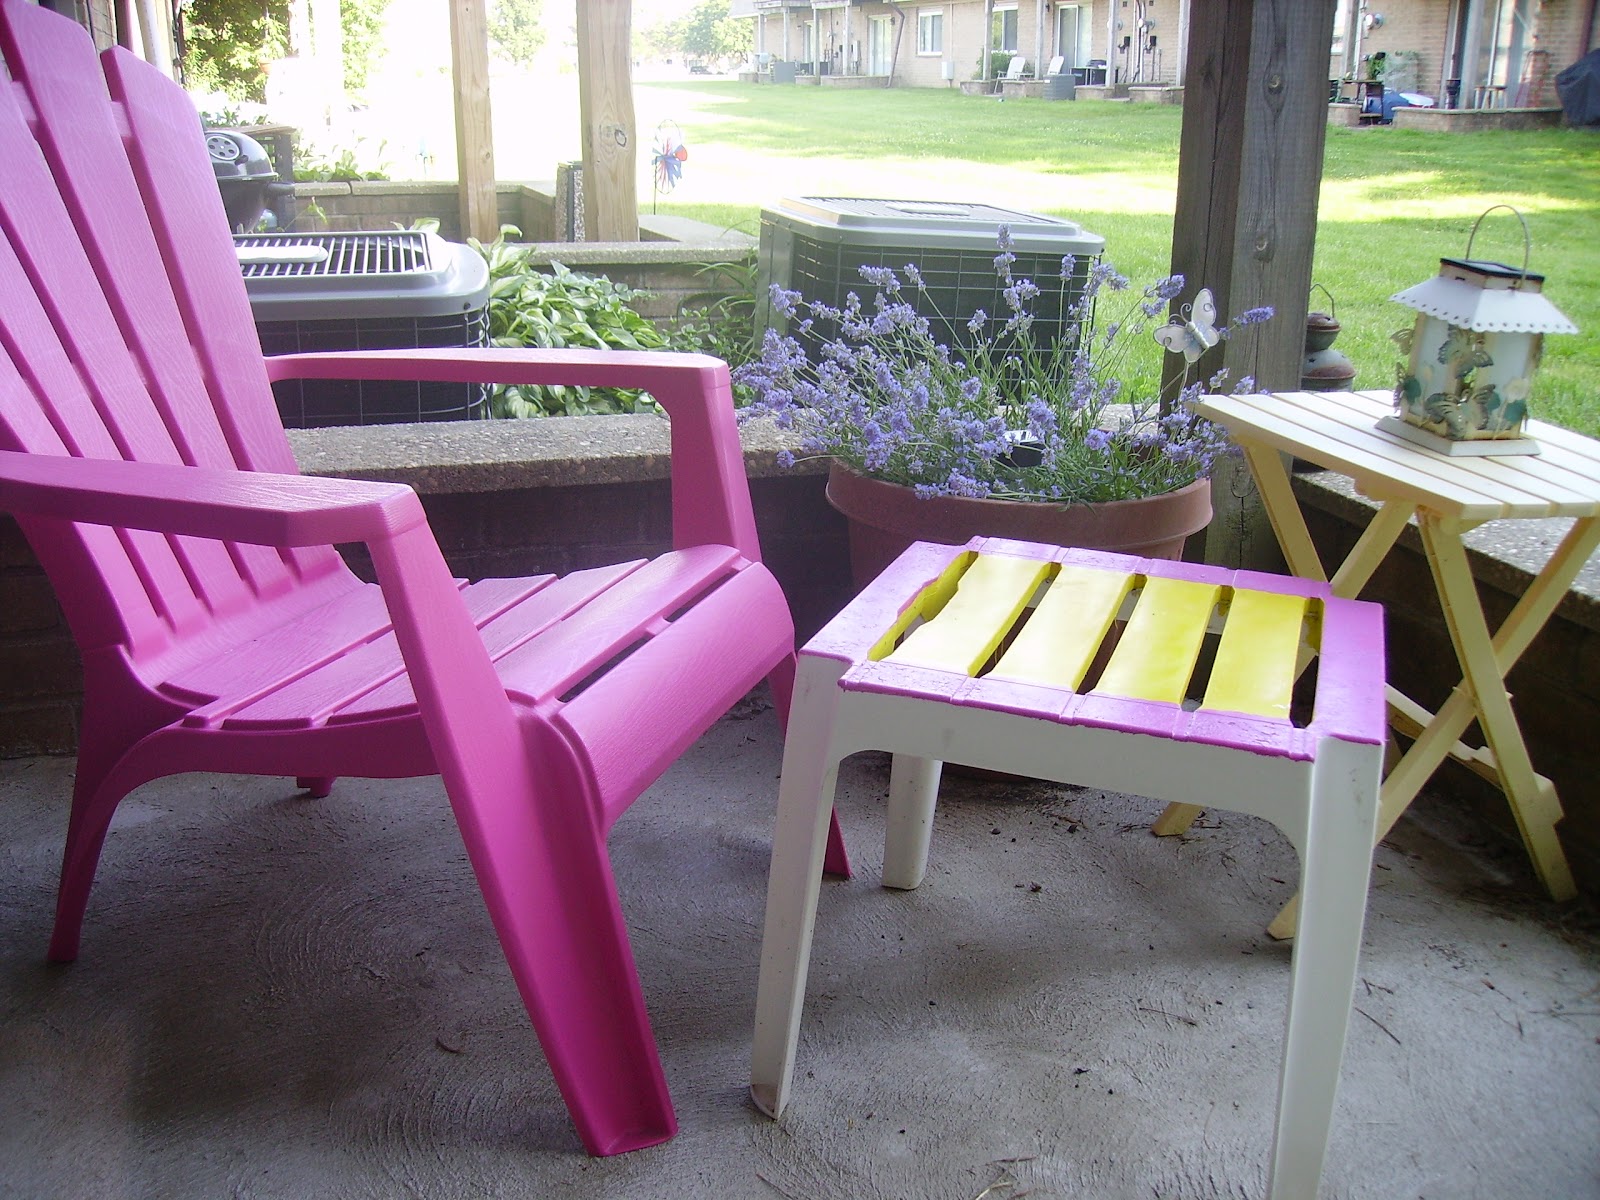
Above, patio again; to the left, a chair that the little girls (neighbors) and I painted.

A collage made up of designs that I cut out and glued on, plus other little items that you can see if you enlarge the photo. It's called "Art has no rules." This is what I meant by cutting out your designs and using them later on a piece of art.

Sea Fairy: Step 1

Sea Fairy: Step 2

Sea Fairy: Step 3

Sea Fairy: Finished Piece

The Sea Fairy piece was supposed to start with just circles and then turn into something completely different. You can still see the circles on the finished piece, lurking below the surface.

Finally, the photo above is of my two little art buddies (3 and 10 years old) working at my kitchen table. It's fun doing art with children!

Well, Dave is coming home from work soon and I'll have to get dinner on. Bye for now!


Wednesday, August 22, 2012

Whew!

Hi again, my art buddies!

This has been a hectic day. I've been getting ready for an interview tomorrow with a creative staffing agency. They place copywriters, editors, proofreaders, graphic artists, and people like that.

So ... this is going to be short.

All I can think of to offer today is more photos, so here goes:

Above, is where my niece won an award for her Harry Potter painting.

The same niece doing art with me.

Her sister doing art with me.

A better shot of the Harry Potter painting.

My niece and my neighbor (both 10) doing art in my kitchen studio.


I'll get back to you soon!

Love to all ...

Tuesday, August 21, 2012

Fun with Photography

I almost couldn't think of anything to blog about today and then I thought about photography. I have a 35 mm camera that I bought quite a number of years ago. It still works great. I have a USB connector to attach it to my computer for downloading photos. I hope it hangs in there for a long time so I don't have to spend a lot of money on another camera.

It's great to be able to download photos to email to friends, to take photos of your art for inclusion in blogs or online galleries like the one on clothpaperscissors.com, flickr.com, and other web sites.

Below are some photos I took. I'll give a caption for each one.

This was taken on a dear friend's patio:
This photo is of my lavender plant:
Here's a dwarf sunflower that I grew a couple of summers ago:
And ... here's a harp circle that I used to attend:

My nieces and their stepbrother are cute and funny characters. This is an example, although I didn't take  it.

I'd like to hear about your photography adventures.
Bye for now!

Monday, August 20, 2012

Fun with Assemblage Art

It's Monday, and I'm back again to talk about assemblage art. When you find something that inspires you to turn into assemblage art, it can be interesting and fun to create.

I bought this shadow box at Dollar Tree and turned it into an assemblage. I call it Mini Shadow Boxes and it's below:
The piece contains pottery shards from a trip to Israel, a glass mosaic, mirrors, former button covers, beads, stickers, and my favorite metallic copper paint.

Then, another time at the dumpster, this whatchamacallit was sitting there calling my name. I wasn't sure what I would do with it, but I knew that an idea would come to me. Here's what I created and called Park Outside of City:
For the cityscape part, there's a piece of plastic that slides out of the top. I painted and markered it to look like a cityscape, then put a piece of paper behind it before I slipped it back in. For the park, I painted first with green paint; then I made trees, the fountain, the large stepping stones, the bushes, the flower bed, and the birds from very inexpensive air-dry scupley-type molding clay that I purchased from ebay. Finally, I added the golden couple, which is a pin that I bought from a flea market-type store. It looks like they're dancing in the park! It took me a long time to come up with idea and to finish.

If you want to learn more about assemblage art, do an Internet search. One website that I checked out is assemblageartists.com

So long for now. Have a great day.

Sunday, August 19, 2012

Collage

Happy Sunday!

Collage is one of my favorite forms of art. You can do it in your art journal, like this:

Or, you can do a collage on a board, cardboard, canvas, or whatever you choose, like this:
Collages are fun because you can use so many items to create them: paper, ephemera, stamped items, pictures from magazines, cloth pieces, glass, broken mirror pieces, metal findings, paint, ink ... the list goes on and on. I usually get my canvases on sale or at any store that is selling them cheaply. I dumpster dive for boards or buy them from thrift shops. You can apply gesso on your  board before you do anything else, to cover up what might be on it. It's also a good idea to seal the finished collage with a medium like Mod Podge. I generally use Plaid(R) Gloss-Lustre Mod Podge.

What I do is make my own designs and cut them out for use in my collages. Sometimes I spend a couple  of hours going through my designs and cutting out the pieces that I know I'll want to use in a collage or on a greeting card that I make. I store them in large envelopes labeled with what  is in them. It's fun, and it helps you to clear out your stash of papers while making room for others in the near future.

I also have envelopes with pictures, stickers, doilies, ephemera, and other items that I like to use in collages--labeled accordingly.

All the best to you ... for now.

Saturday, August 18, 2012

Zentangle

Hey there! Yesterday, while I was watching my favorite soap opera, I decided to do some Zentangling. I'm going to give you the definition of Zentangle that I'm copying and pasting from zentangle.com and then I'll show you how I did mine.

"Zentangle is an easy-to-learn, relaxing, and fun way to create beautiful images by drawing structured patterns.
Almost anyone can use it to create beautiful images. It increases focus and creativity, provides artistic satisfaction along with an increased sense of personal well being. The Zentangle method is enjoyed all over this world across a wide range of skills, interests and ages.
We believe that life is an art form and that our Zentangle method is an elegant metaphor for deliberate artistry in life.
We invite you to explore our web site and learn more about this wonderful and uplifting method and artform."
(copied and pasted from zentangle.com on 7/18/12)

You can have four or more sections on your zentangle art. I only had four, but I'll show you how to do it the way Julie Fei-Fan Balzer says to do it (you can even check out her video on youtube.com if you so choose.).

First you do 4 dots on your paper like this:

Then you connect the dots and add as many tangles as you want. I only added enough to create 4 different sections, but you can create as many sections as you want. Do a search on zentangle and you'll see some pictures from zentangle.com.

These are my finished pieces of zentangle art. At first, before they were colored in with markers, I didn't like the way they looked. After coloring them, I really liked the look. You can also just leave them black and white.

I hope you enjoy your zentangling adventures. Let me know if you have any comments or suggestions, OK?

Have a good one!

Friday, August 17, 2012

Marbling Paper and More

It's a beautiful new day. I just saw a video on Natalie Kalbach's blog (nathaliesstudio.com) and want to share it with you. Have your speakers turned on as you watch an expert marbling paper:

http://vimeo.com/24709888

There are a lot of videos on youtube.com showing how to marble paper and how to do so many other things. I learned how to install the upgrade to the RAM on my computer by watching a video on You Tube!

I've also done some paper marbling. I'm not an expert at it, but it's still fun. Below are some pix showing some of my results. Then, below that, I'll tell you how easy it is to do, even for a beginner like me.


To dye paper this way, just do the following:

1. Fill a shallow pan with water.
2. Drop alcohol ink into the water OR touch the surface of the water with the tip of the brush containing the color of acrylic paint you desire--and you can do this with several colors.
3. Leave the water as is, or swirl it a bit with a simple tool like a fork or a thin, pointed object.
4. Place your absorbant (but not too thin) paper on top of the water and smooth out carefully.
5. Pick your paper up (also carefully) and you will see the kind of design you have.

You can use these paper in collages or other types of art. You can also use them to wrap small gifts or whatever else you desire.

My girlfriend and art buddy decided to try and dye small pieces  of paper in the water where the acrylic brushes were standing, and that works too. Of course, I also did it. She's only 10, but she has taught be a lot with her little experiments ... and I have taught her many things from my experiments and the workshops I've taken from Julie Fei-Fan Balzer (her DVD workshops, that is) (go to balzerdesigns.com if you want to check her out).

Lastly, I'll tell you that the other day I was taking trash to the dumpster and came across a charming chest of drawers that someone was disposing of. I opened a drawer and found a Nautica(R) jeans tag, which I scooped up to use for the art tag I made:


I painted the back with black acrylic paint and sprayed it with Jim Holtz Copper alcohol ink to give it some sheen. Then I collaged the front of the tag with some paper items that I made from stamps, glitter glue, and metal findings added with Instant Krazy(R) Glue, the brush-on kind which is safer to use. I also sprayed the front with a little of the copper alcohol ink. This was my first art tag ... you can keep these tags for yourself or use them on gifts.

Well, that's all for now. No side comments for today.

Have a lovely one!

Thursday, August 16, 2012

Howdy for Today

Hi there!

This will be short because I don't have too much to say right now. I've been working on a few things, but the only one ready to show you is my color wheel. I saw one on Jane Davies' website and it inspired me to create one as the first thing in my big art journal that I just started:


I used an actual color wheel as a reference. It's painted with acrylic paints (some that I had to mix colors to match) and then I applied RichArt Ice White glitter glue with a brush. I smudged the bottom of the page with paint, so I used it as part of the design of the page and added Color Wheel with acrylic paints and a Sharpie medium point black opaque paint marker. Then I decided to outline the wheel with the same marker, as you see above.

It was a fun exercise and now, hopefully, I will remember the color wheel better than I did before!

Aside Comment: If you get the chance and you are in the Millville, New Jersey area on the third Friday of each month, Millville hosts Third Friday where you can visit galleries for free, hear live musicians playing in the streets and in some stores, shop, eat, see a show at the Levoy, and have fun. I've been there many times and really enjoyed it. If you need more information, you can find it on the Web. Here are a couple of photos of Millville on a Third Friday, for your viewing pleasure:


Take care and have a great day!

Wednesday, August 15, 2012

Yesterday, I forgot to mention another artist who inspires me. Her name is Nathalie Kalbach and she lives in Hamburg, Germany. To find out more about her art, go to http://nathaliesstudio.com/.

I joined the Second Floor Challenge with Nathalie and Julie Fei-Fan Balzer, where they give you a challenge and have to create a piece of art using that challenge. Here are my pieces from the taking it to the second floor:

This piece started out as just circles and became what it  is now. It's called Sea Fairy.
To do this piece, I used a flea market board; Elmer's glue for the circles to create a resist; paint brushes and sponges; acrylic paints: Liquitex Mars Black, Color Traditions Cerulean, Delta Ceramcoat Oaisis Green, and Plaid Aqua; a fairy that I drew and painted, then glued on; a plastic fork; and Jim Holtz Adirondack Silver alcohol ink.

This one was created from using colored pencils; the challenge was to use pencils. I didn't name it, though. It started out as simple geometric shapes in primary colors and ended up like this.
To do this piece, I used: Crayola blue, green, red, and yellow colored pencils; a black Porfolio color pastel crayon; yellow, red, green, and blue acrylic paint; and Plaid Clear Acrylic Sealer Gloss.

This was the third challenge I did. We had to pick only five items and create something. It also has no name.
To create this, I used: a piece of cardboard covered over with Liquitex White Gesso; a picture taken from a recent JC Penney flyer, scanned, and changed to black and white using Corel Painter; and aqua acrylic paint--just five items.

I don't know what the next challenge will be, but I'll be ready for it!
If you or anyone you know is interested in participating in this challenge, check out how to join it at balzerdesigns.com or nathaliesstudio.com.

******************************

SPECIAL ASIDE: A friend of mine, Helena Battle, wrote a book for children that I want to let you know about: Kids--It's OK to Scream Out Loud: to Get Away from a Pedophile Person. It will help kids protect themselves from sexual predators. It can be purchased on amazon.com and barnesandnoble.com. I had the privilege of editing the book!

I'll be back to you tomorrow, hopefully.


Tuesday, August 14, 2012

Mistake on URL (Typo)

Sorry--I typed Jane Davies URL wrong: it's http://janedaviesstudios.com/.

One more thing ...

I know--I promised not to post another thing today, but I just want to let you know that you can find Julie Fei-Fan Balzer on balzerdesigns.com and you can find Jane Davies on janedaviewstudios.com. I have to remember to provide links from now on.

Sorry--Forgot to mention this!

I want everyone to know that my favorite muses for my art are Julie Fei-Fan Balzer from Manhattan NYC and Jane Davies (as of today, after reading Julie's blog) from Rupert, Vermont. Of course, the love I have for art is a constant muse for me, but these two women are super-talented. I hope the next post will be from you!

Correction to My Last Post

Excuse me--I said a "couple" of my art works, and I showed a lot more than that. Also, my many pieces of art are on clothpaperscissors.com under galleries/show your art and you can see all of them by doing a search up at the top, right-hand corner under 1dapierro. Bye for now, and I hope to hear from you.

Now that I know what I'm doing ...

Oops! I'm just learning what to do, so now I know how to add an image. Here are a couple of my works of art. I hope you like them, or at least find them interesting. (More to follow at some near-future date.)